Select the option to create a new patient.
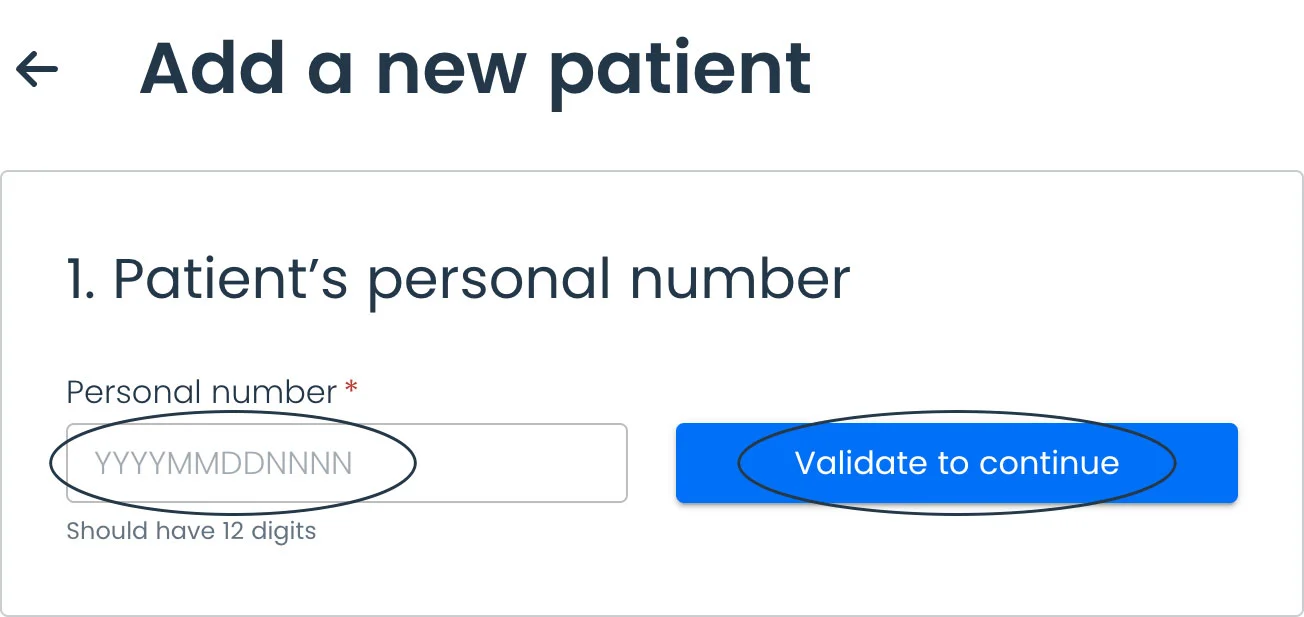
Enter the patient’s personal ID and validate.
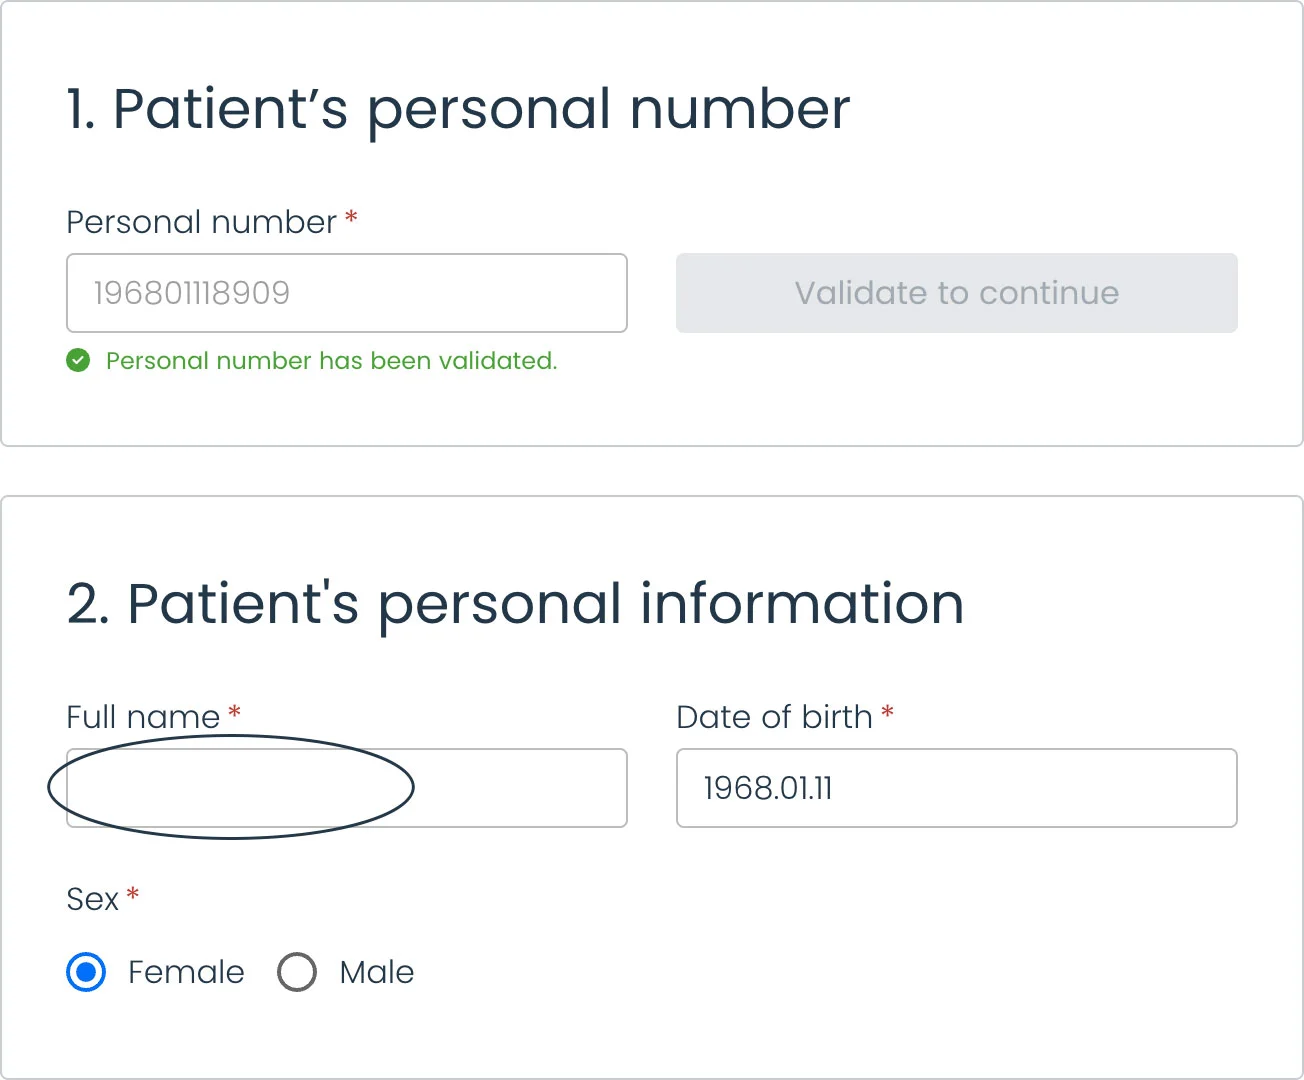
The tool will auto-populate the patient’s birthday and gender according to the personal number. Complete the patient’s name before proceeding.
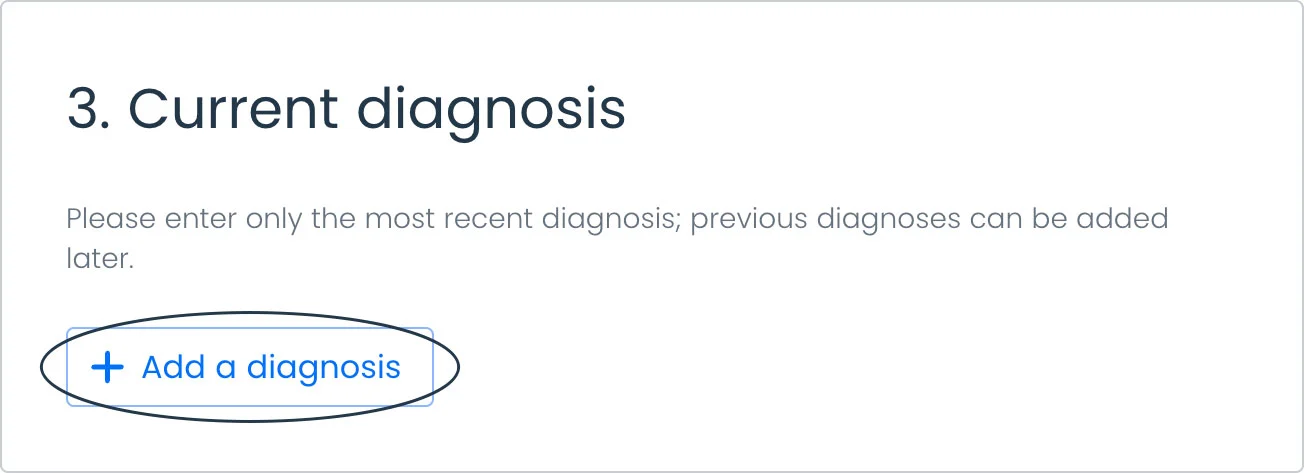
Add the patient’s cancer diagnosis by clicking “Add a diagnosis”.
Enter the patient’s cancer diagnosis, date of diagnosis, name of the clinic where treated, and diagnosis notes if needed.
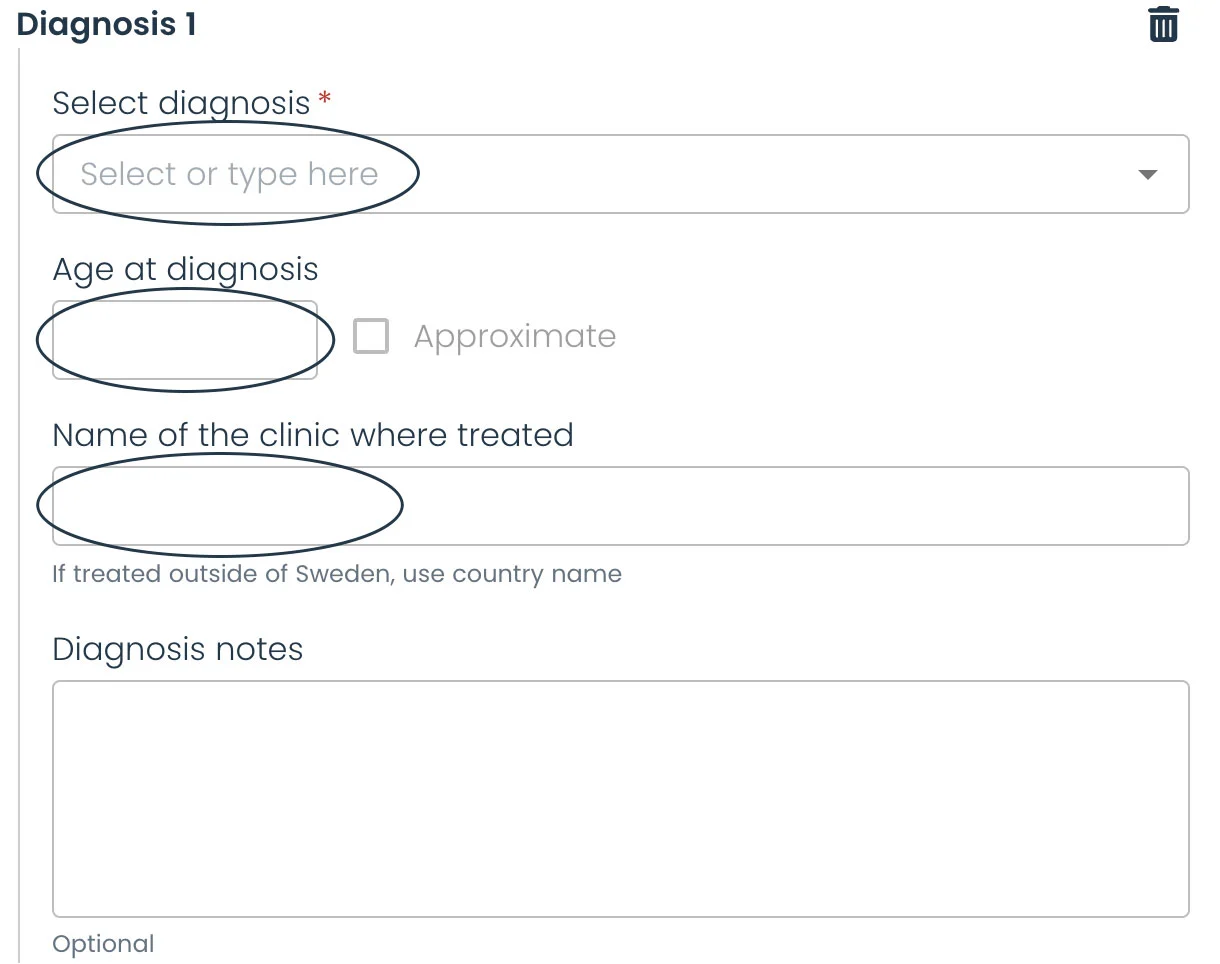
To remove a diagnosis, click the trash can icon on the right side of the diagnosis.

Add multiple diagnoses by clicking ‘Add another diagnosis’ as needed.

Once all information is added, click the button to continue.

The patient record has been created when the patient page opens. It is now also accessible on the dashboard lists.
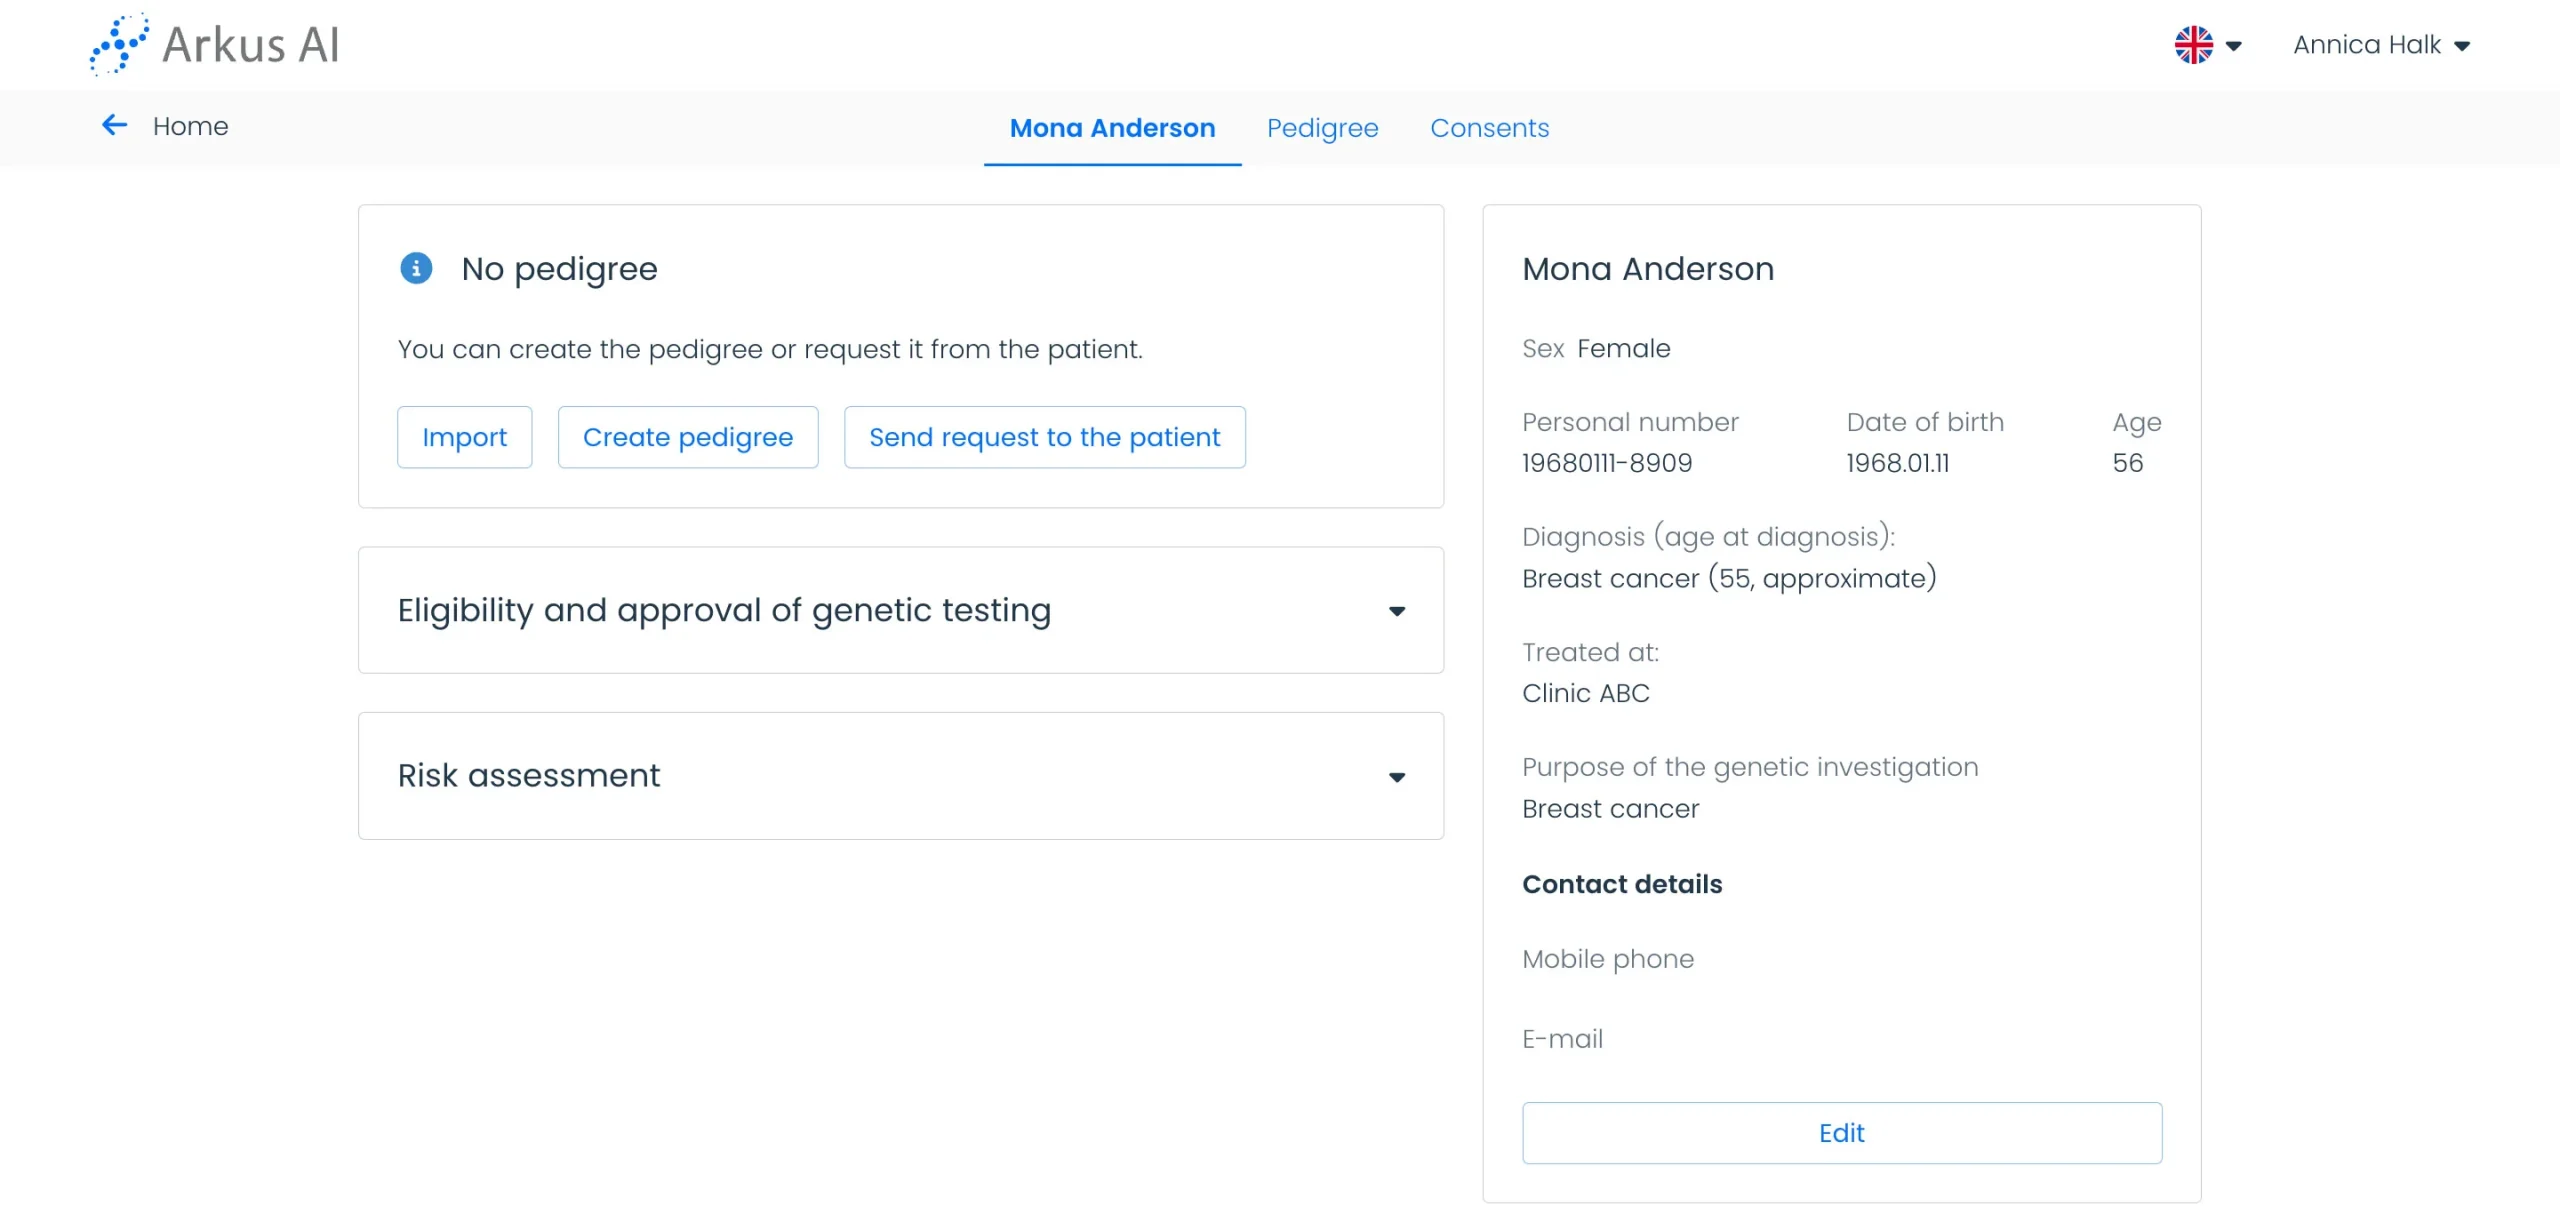
To add contact details to the patient record, click the ‘Edit’ button on the right side of the patient’s page.
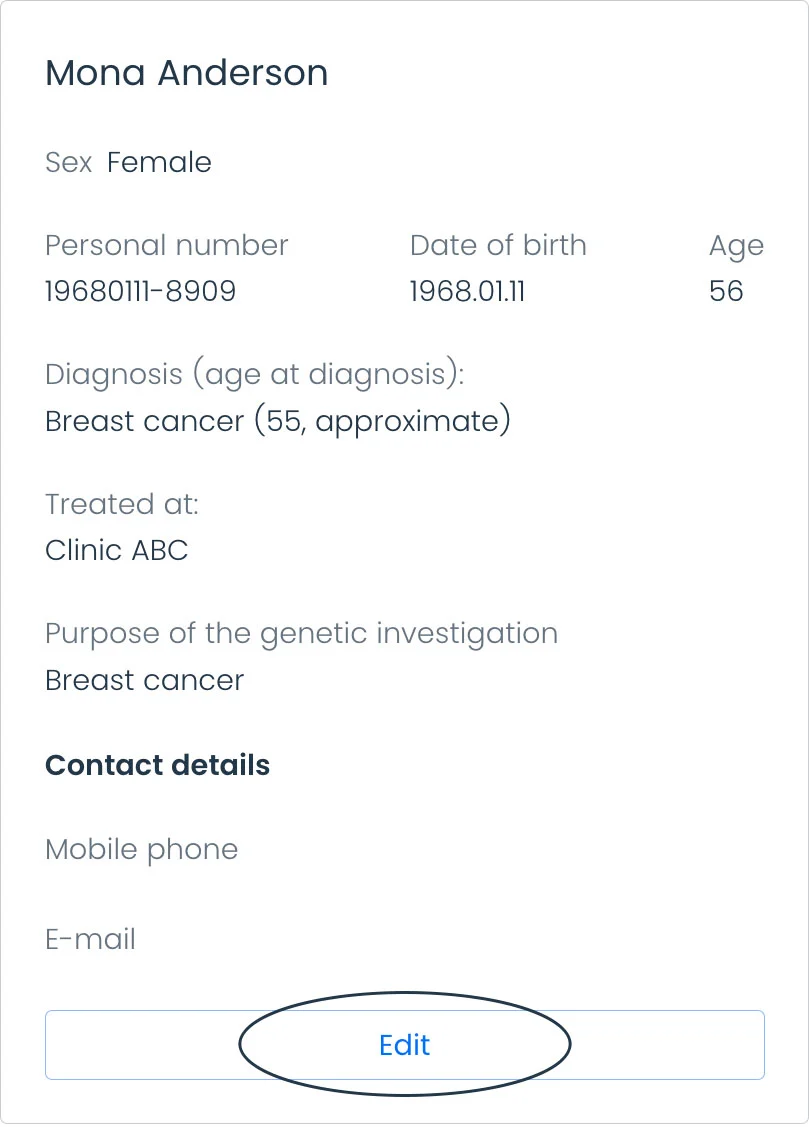
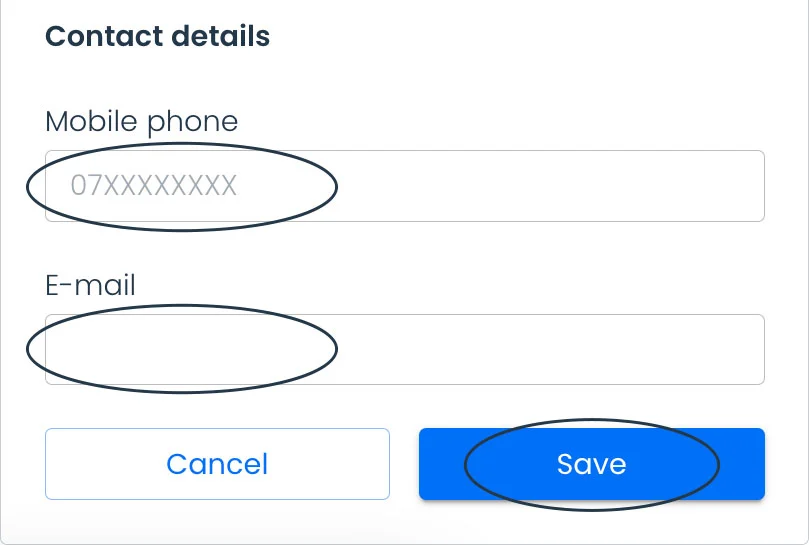
Enter the mobile number and/or email, then click ‘Save.’ The tool will use these contact details to send requests to the patient, so please ensure accuracy. You can also add or edit this information later if needed.
